

Steps to Rebuild a Bay Window for Collingwood Homes
Bay windows add beauty and light to Collingwood homes. But they also fail more often than standard windows. The angles, the weight, the exposure to Georgian Bay weather—all of it puts stress on frames, seals, and supporting structures. If your bay window has started leaking, sagging, or feeling drafty, you’re not alone. Many homeowners in this area face the same problem. The question is whether to patch it, repair it, or rebuild it completely. Understanding the steps involved helps you make the right choice before small problems become expensive emergencies.
Common Questions About Bay Window Rebuilds
Why is my bay window leaking even though the glass looks fine?
Bay windows leak at the joints and corners where panels meet. Water finds its way behind frames and into walls. The glass may be fine while the structure around it fails.
Why is the area near my bay window always cold?
Bay windows project outward from your home. They catch more wind and lose heat faster. Poor insulation underneath the seat or failed seals make this worse.
Can I just replace the glass instead of the whole bay window?
Sometimes. If the frame and structure are solid, glass-only replacement works. But if the frame is rotting or sagging, new glass won’t fix the real problem.
Why is my bay window sagging or pulling away from the wall?
Bay windows are heavy. The cables or brackets supporting them weaken over time. Wood rot makes this worse. Sagging is a sign of structural failure.
Is rebuilding a bay window worth the cost?
It depends on your home’s age, condition, and your plans. A proper rebuild lasts decades and improves comfort. A cheap patch may need redoing in a few years.
How long does a bay window rebuild take?
Most rebuilds take one to three days depending on the extent of damage and whether structural repairs are needed. Weather can affect timing.
Who provides the best bay window service near me in Collingwood?
Look for companies with experience in full bay window rebuilds—not just glass replacement. Ask about structural inspection, proper support systems, and warranties.
What This Guide Covers
- Signs your bay window needs rebuilding
- Why bay windows fail faster than regular windows
- Step 1: Inspection and damage assessment
- Step 2: Removing the old bay window
- Step 3: Repairing the rough opening and structure
- Step 4: Installing the new bay window
- Step 5: Insulation, sealing, and finishing
- Cost factors to consider
- What works best for Collingwood homes
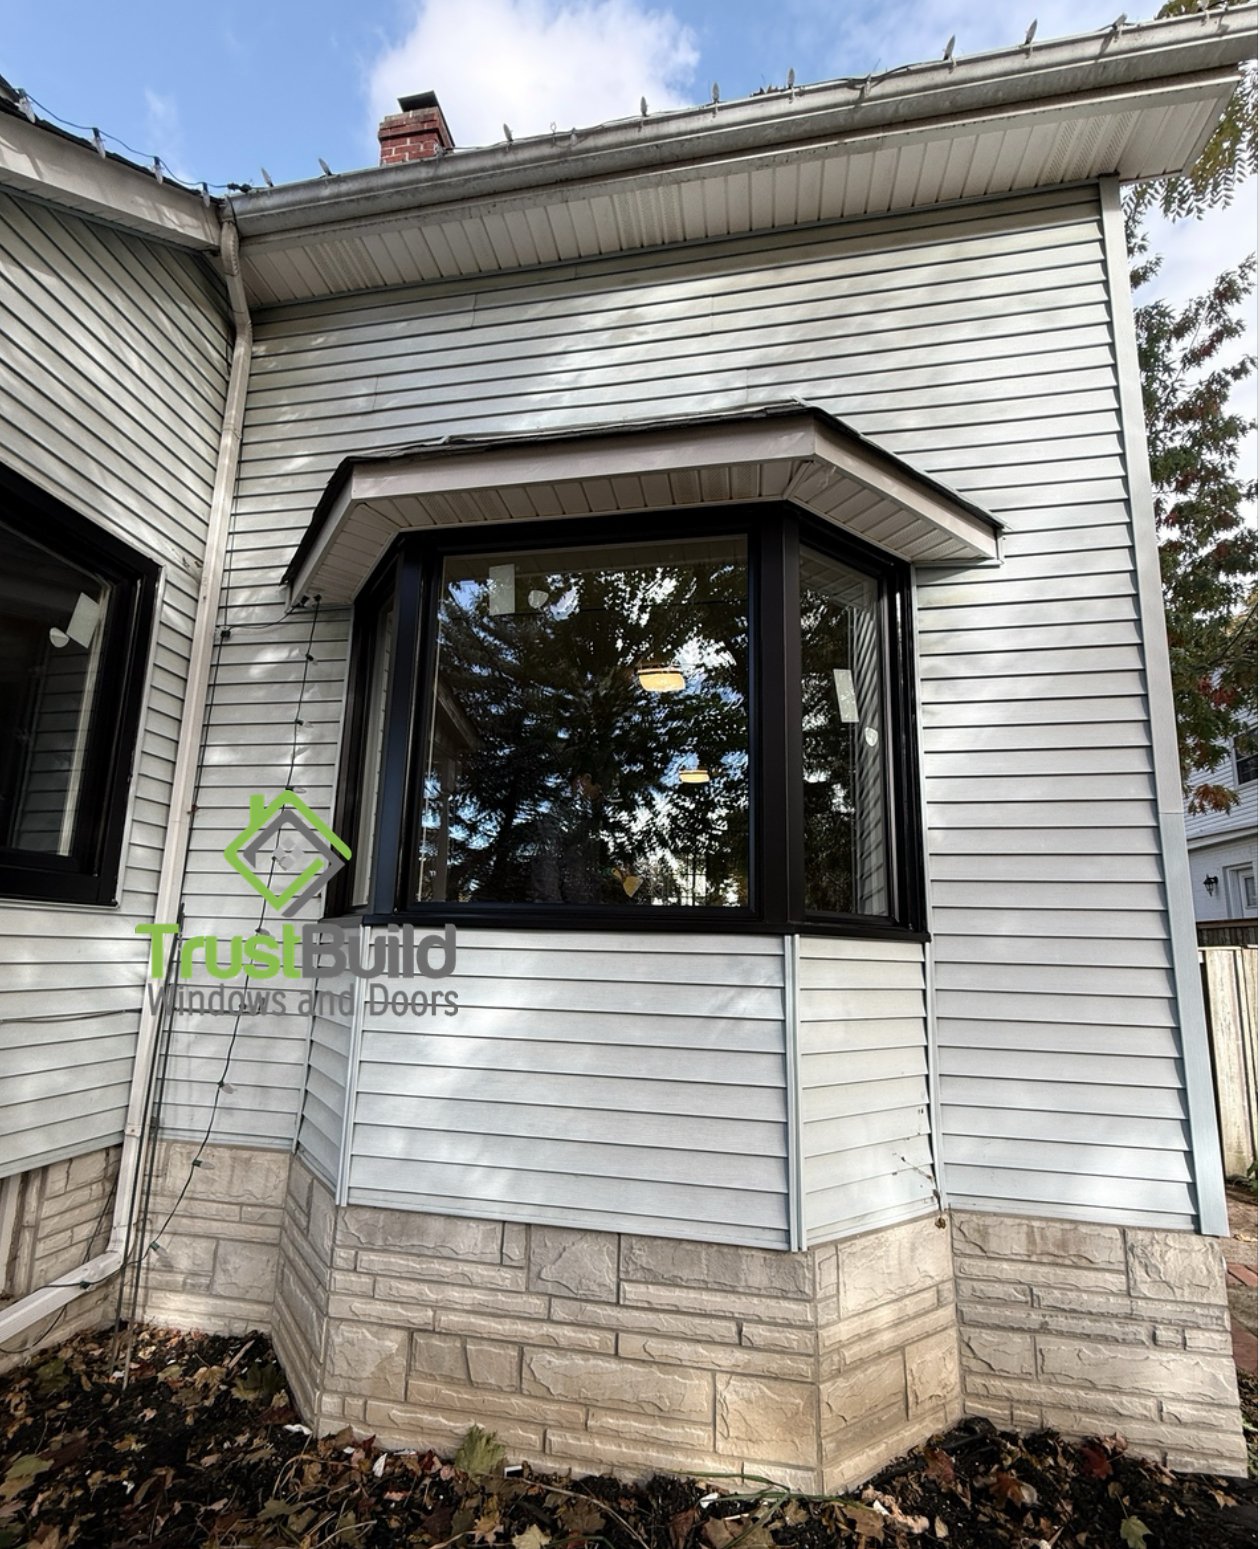
Signs Your Bay Window Needs Rebuilding
Not every bay window problem requires a full rebuild. But certain signs indicate that repairs alone won’t be enough.
- Visible sagging or separation from the wall — The window is pulling away from your home
- Soft or spongy wood around the frame — Rot has compromised the structure
- Water stains on walls or ceiling below the window — Leaks have penetrated the structure
- Drafts that don’t go away even after weatherstripping — The frame itself has failed
- Condensation between glass panes — Seals have broken and insulating gas escaped
- Windows that won’t open, close, or lock properly — Frame warping has affected operation
- Mold or mildew around the bay window area — Moisture infiltration is ongoing
If you see multiple signs from this list, patching is unlikely to solve the problem long-term.
Why Bay Windows Fail Faster Than Regular Windows
Bay windows face challenges that standard flat windows don’t. Understanding why they fail helps explain why proper rebuilding matters.
Weight and Support
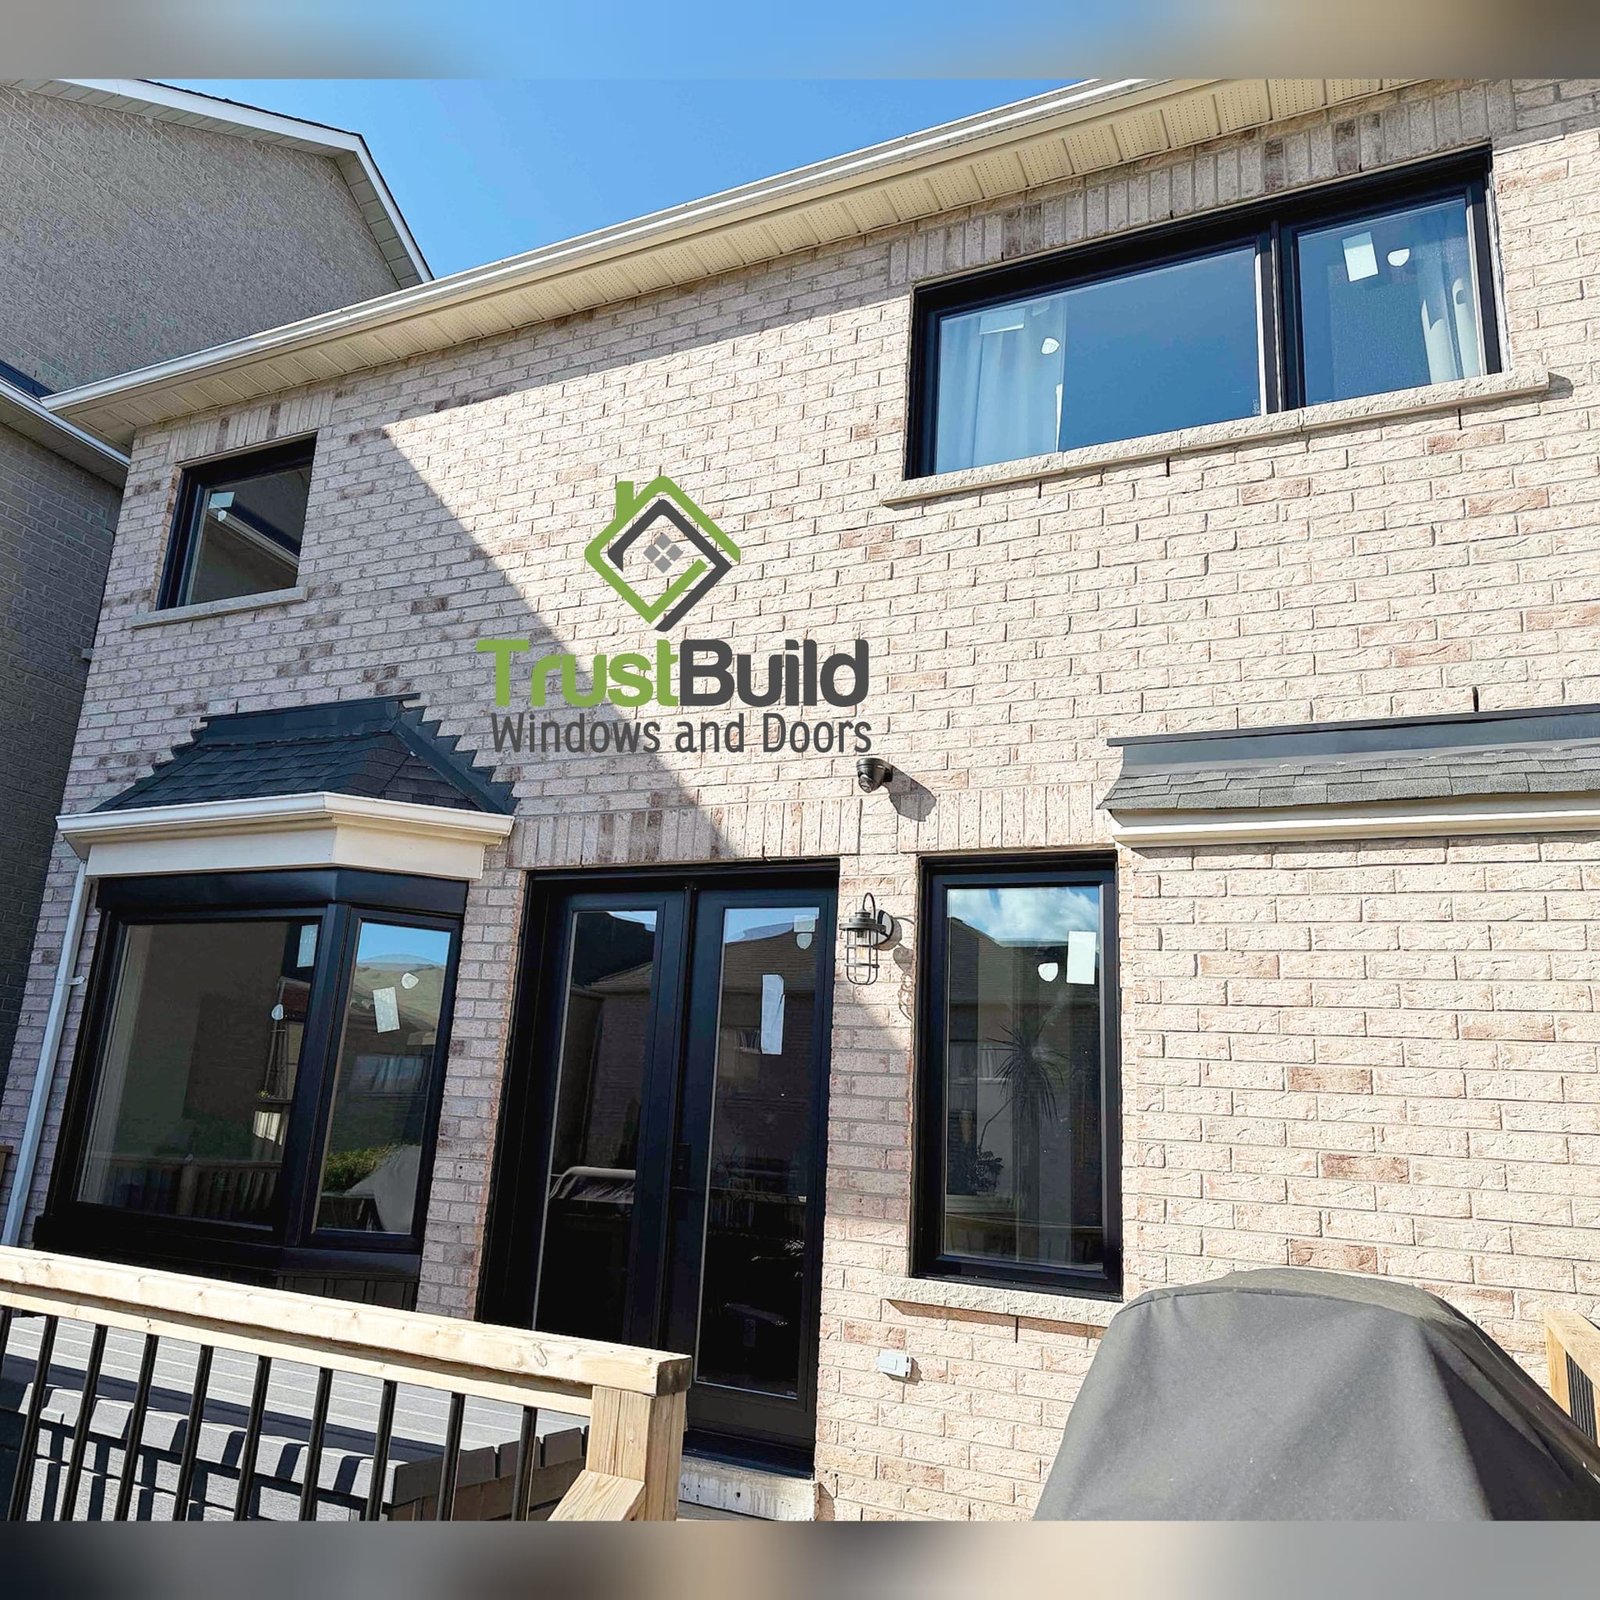
Bay windows are heavy. Three or more glass panels, frames, and often a seat or shelf below add significant weight. This weight hangs off your wall, supported by cables, brackets, or a knee wall. Over time, these supports stretch, loosen, or rot. The window begins to sag.
Complex Angles and Joints
Where flat windows have simple rectangular frames, bay windows have angles—typically 30 or 45 degrees. Each angle creates a joint. Each joint is a potential failure point where water can enter and seals can break.
Increased Weather Exposure
Bay windows project outward from your home. They catch more wind, rain, and snow than windows that sit flat in the wall. In Collingwood, with Georgian Bay weather, this exposure is significant.
Thermal Bridging
The underside of a bay window—the seat or bottom panel—often lacks proper insulation. Cold air enters from below. This makes the area near bay windows uncomfortable even when the glass itself is efficient.
Simple takeaway: Bay windows have more points of failure than regular windows. When they start failing, multiple issues usually need addressing at once.
Step 1: Inspection and Damage Assessment
A proper rebuild starts with understanding exactly what has failed. This isn’t something to guess at.
Visual Inspection
The first step is examining the entire bay window assembly—inside and outside. This includes the glass, frames, supporting structure, roof or overhang above, and the wall area surrounding the window.
Structural Assessment
Bay windows need support systems—cables, brackets, or knee walls. These must be checked for integrity. A sagging window usually means the support system has failed.
Hidden Damage Check
Water damage often hides behind trim and drywall. A thorough inspection may require removing some interior or exterior trim to see the true condition of the rough opening and wall structure.
At Trust Build Windows and Doors, we complete this assessment during our in-home consultation. We bring window samples, glass options, and door frame samples so you can see your options. We show you the difference between double and triple pane glass, explain steel versus fiberglass door options, and let you compare everything at your own pace. No pressure—just information to help you decide.
Step 2: Removing the Old Bay Window
Removal must be done carefully to avoid further damage to your home.
Interior Preparation
The area around the window is protected. Drop cloths cover floors and furniture. Interior trim is removed and saved if reusable.
Exterior Trim and Flashing Removal
Exterior capping, trim, and flashing come off. This exposes the connection between the bay window frame and your home’s structure.
Disconnecting Support Systems
Support cables or brackets are carefully released. The weight must be managed to prevent damage.
Window Removal
The entire bay window assembly is removed from the rough opening. This exposes any hidden damage in the wall structure, insulation, and framing.
Simple takeaway: Proper removal takes time. Rushing this step risks damage to your home’s structure and makes the new installation harder.
Step 3: Repairing the Rough Opening and Structure
This step is critical. The rough opening must be sound before a new bay window goes in.
Assessing Structural Damage
With the old window removed, any rot, water damage, or insect damage becomes visible. Framing members are checked for integrity. The header above the opening is inspected.
Repairing or Replacing Damaged Framing
Rotted wood is cut out and replaced. Damaged framing members are sistered or replaced entirely. The goal is a solid, square, level opening that can support the new window’s weight.
Preparing for New Support Systems
Proper support is planned before the new window arrives. This might include new cable anchors, reinforced brackets, or a proper knee wall structure. The support method depends on the window style and your home’s construction.
Skipping or rushing this step is how bay window problems repeat within a few years. The structure must be right.
Step 4: Installing the New Bay Window
With the opening prepared, the new bay window assembly is installed.
Positioning and Leveling
The new window is carefully positioned in the opening. Level and plumb are critical—bay windows that aren’t perfectly level won’t operate correctly and will develop seal problems faster.
Installing Support Systems
Cables, brackets, or knee wall supports are installed and adjusted. These carry the weight of the window and prevent sagging over time.
Securing to the Structure
The window frame is fastened to the rough opening with appropriate fasteners. Too few fasteners or improper placement creates weak points.
Checking Operation
Before finishing, all operable panels are tested. Windows should open, close, and lock smoothly. Any issues are addressed immediately.
Step 5: Insulation, Sealing, and Finishing
This final step determines whether your new bay window performs well or develops problems.
Insulating the Underside
The space beneath the bay window seat must be properly insulated. This is often neglected in original construction. Proper insulation eliminates the cold floor and uncomfortable drafts many homeowners experience.
Air Sealing
Gaps between the window frame and rough opening are sealed with low-expansion spray foam. This creates an airtight barrier that prevents drafts and energy loss.
Flashing and Water Management
Proper flashing directs water away from the window and your walls. The roof or overhang above the bay window needs particular attention—this is where many leaks originate.
Interior and Exterior Trim
Interior trim is installed or reinstalled. Exterior capping and trim protect exposed edges and provide a finished appearance.
Simple takeaway: Insulation and sealing matter as much as the window itself. Poor finishing undermines even the best bay window.
Cost Factors to Consider
Bay window rebuilds cost more than standard window replacements because of the structural work involved.
Here’s what affects cost: The extent of hidden damage is the biggest variable. A bay window with solid structure underneath costs less to rebuild than one with extensive rot or failed supports. Window size, glass package (double versus triple pane), and materials also affect price. Getting an accurate quote requires in-person inspection—online estimates cannot account for structural conditions. The right approach depends on your specific situation, not general pricing averages.
What Works Best for Collingwood Homes
Collingwood’s climate puts extra demands on bay windows.
Georgian Bay Weather
Homes near the water or facing prevailing winds take significant weather punishment. Bay windows in these locations benefit from triple pane glass, which handles temperature extremes better than double pane.
Winter Considerations
Cold air pooling beneath bay windows is a common complaint in Collingwood homes. Proper insulation of the underside during rebuild eliminates this problem. Many older bay windows were installed without adequate insulation below.
Seasonal Movement
Ontario homes expand and contract through seasonal temperature swings. Bay window support systems must accommodate this movement without loosening or stressing the frame.
Local Neighbourhoods
Homes in Pretty River, Cranberry, Downtown Collingwood, and the Blue Mountain area all have bay windows that face these challenges. The principles are the same regardless of neighbourhood—proper structure, proper support, proper sealing.
In-Home Consultation With Real Samples
Deciding on a bay window rebuild is easier when you can see actual products. At Trust Build Windows and Doors, we bring the showroom to your Collingwood home:
- Window samples — See and touch actual frames and glass
- Glass comparisons — Compare double pane and triple pane side by side
- Door frame samples — Feel the difference between steel and fiberglass
- Colour catalogues — Browse every available finish and style
You examine everything at your own pace. You compare options with your family. You decide based on real materials—not pressure or sales tactics. The homeowner decides what’s right for their situation.
Getting Bay Window Rebuilds Right
Bay window problems rarely fix themselves. What starts as a small draft or minor condensation often indicates larger structural issues developing out of sight. Understanding the steps involved in a proper rebuild helps you ask the right questions and recognize quality work.
The key is addressing all the systems at once—glass, frame, structure, support, insulation, and sealing. Fixing one while ignoring others leads to repeated problems and wasted money.
If your Collingwood home has a bay window showing signs of failure, take time to understand the full scope before deciding on repairs. A proper rebuild done once lasts decades. A quick patch often leads to bigger problems within a few years.
The right approach protects your home, improves your comfort, and gives you results that last through many Collingwood winters.